How to lay down vinyl flooring in your home dance studio in three easy steps
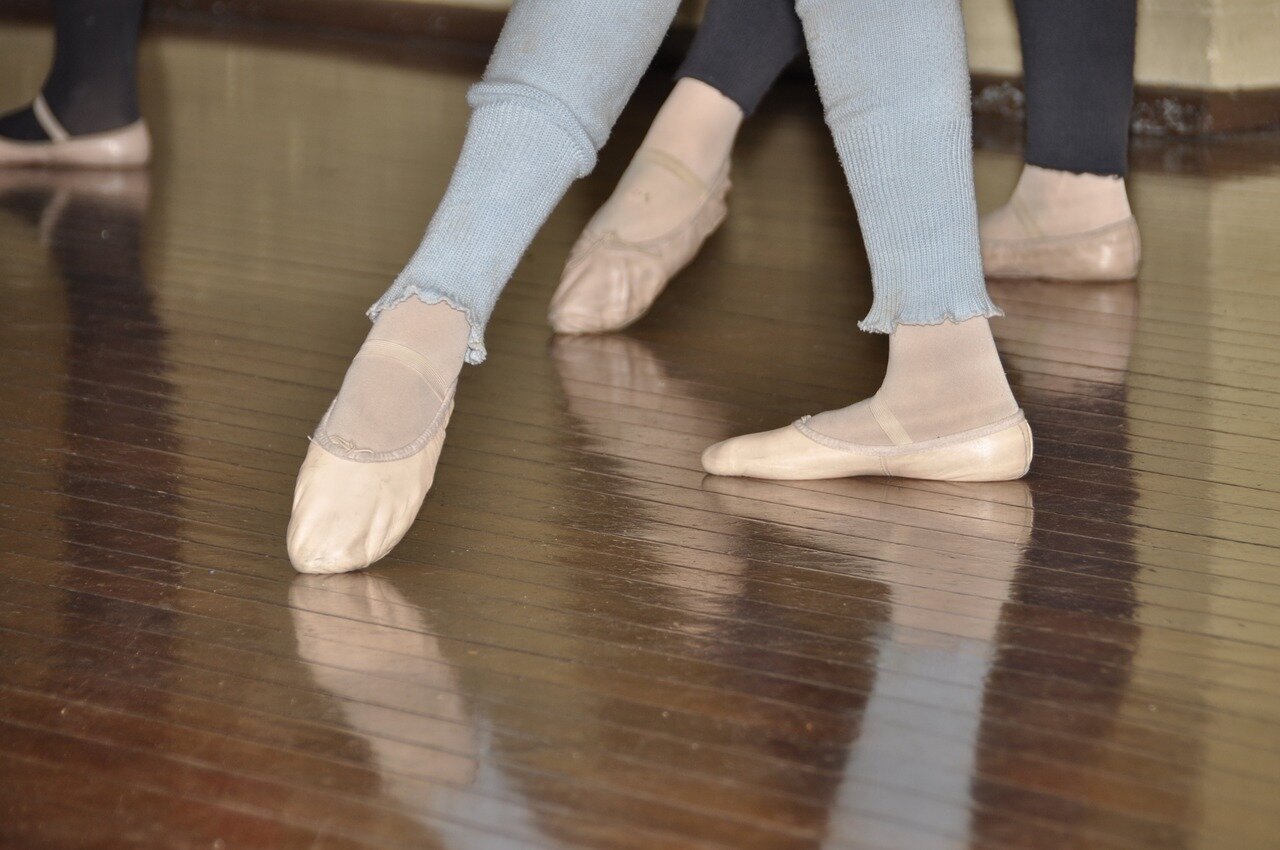
/Vinyl floors make for a great surface for all different styles of dance, from hip hop to jazz, from tap to ballroom. Vinyl is softer than concrete or wood, and relatively cheap and easy to DIY. Vinyl comes in all sorts of designs, and you can fool people into thinking you have expensive wooden floors in your dance studio.
Here, we will go through the first steps on the best way to set up your home dance studio with a floating vinyl floor. This is the second post in a series about installing vinyl floors in your home dance studio. The first page can be found here.
Step 1. Measure your dance studio
Draw a rough diagram of the space you are expecting to cover with vinyl. If you are lucky, the room is a perfect rectangle with no strange edges or angles, or complicated shapes to cut around. Using a tape ruler, go around the perimeter of the room and measure each of the sides of the wall, putting the ruler along the ground.
If your room is rectangular, the math becomes easy: multiple the length by width to give you the total area in square footage that you need to cover. If your room has strange shapes or permanent fixtures that you need to navigate around, such as floor vents of vanities, you'll have to divide the space into rectangles, calculate the area for each rectangle, and add them together to get total area.
Vinyl flooring is sold in large boxes that contains a certain number of square footage. Each box may contain 10 planks, for example, each plank being some set rectangular dimensions, often longer than wide. When you go to buy flooring by square footage, buy 10% more vinyl than your room size. You will make mistakes! Even if you are very efficient with your material, you can always return unused boxes.
Step 2. Plan the installation
The vinyl planks for your dance studio have a very specific shape for how they should be put down. Each of the four edges of the plank have a specific orientation and must be followed (ie, the top is always at the top, left is always on the left, etc.) Each set of vinyl flooring is slightly different, but generally the top and left sides are overhanging lips, while the bottom and right edges are underhanging lips. They are designed so that the top will only lock into the bottom, and the right will only lock into the left.
Generally, it looks best if the planks of the vinyl go along the length of the rectangular room parallel with the mirror. This also decreases the amount of cuts you need to make. For a square room, as before, line up the planks parallel with the mirror.
The pattern of laying down planks should be like bricks in a wall. Stagger the planks by a third of the length of each plank. This has two purposes: most importantly, it keeps the floor locked together. If the planks are not staggered, they risk sliding against the direction of the floor, which may cause you to have to start again! It also looks better this way, even though you won't be able to see the lines between the planks.
You will always start in the upper left corner of your studio. The next plank you put down will be to the right of that first plank. Then continue until you reach the end of the row, only then will you move down. It should be just like reading!
No matter what dimensions your room is, you will absolutely have to cut your vinyl floor pieces. Luckily, vinyl is easy to cut. Thinner pieces can be scored with a utility knife and bent until they break. Thicker pieces of vinyl may require a jigsaw, which is a relatively cheap power tool that can be operated easily and safely.
Step 3: Begin installation!
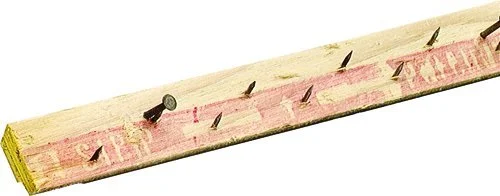
The best thing to do is to start by pulling the baseboards off the wall. The baseboards are the small strips of wood that are nailed to the wall that run along the periphery of the floor. These baseboards make it difficult to slide the vinyl planks and decrease your ability to move the floor.
Check with your individual brand of vinyl flooring, but most vinyl planks require a space of about a quarter inch to allow for expansion and contraction of the material. So, your cut vinyl planks should never fit perfectly into the studio space, but should be slightly shorter than that. You can buy quarter inch wood spacers to ensure that the vinyl doesn't push up against the walls.
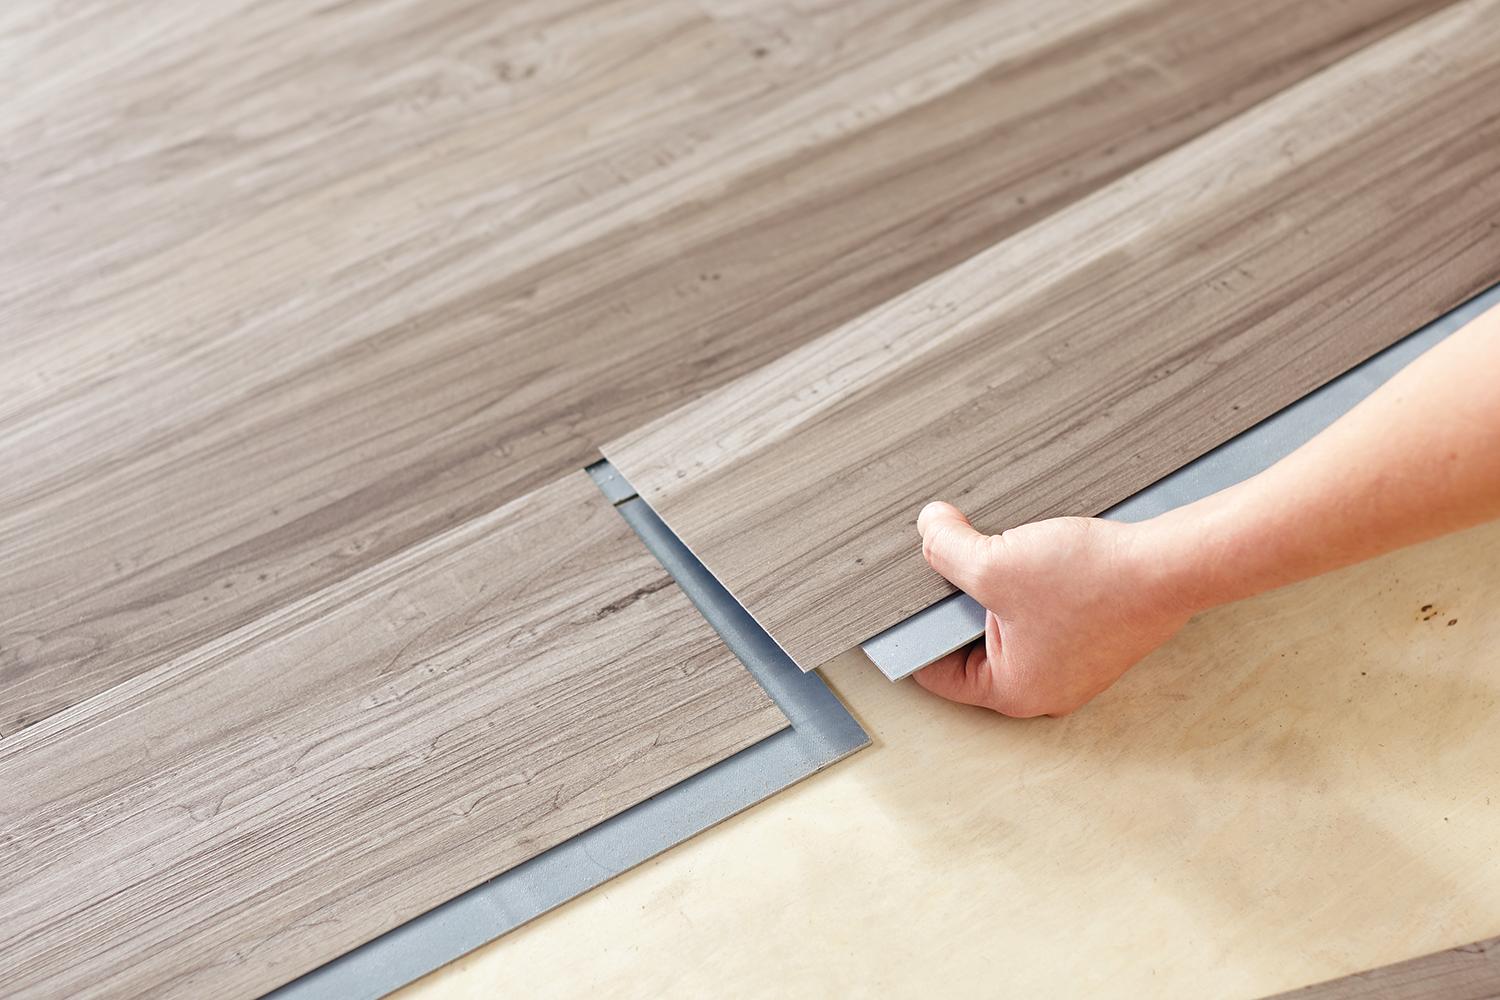
When you install the vinyl pieces together, drop them in at an angle rather than hammering them directly on top. Each set of vinyl will have their own set of instructions, but all of them require an angle for proper installation.
You will want to get a hard plastic hammer and a pull bar to make sure that the planks are completely locked with one another. You’ll use the hammer on the top surface to lock the pieces sideways. As for the up to down direction, use the pull bar to make sure that the vertical pieces are locked tightly together. If they are not completely locked together, there may be sharp edges along the floor. A properly installed floor will be completely smooth.
Congratulations, you have just installed a brand new vinyl floor onto your dance studio! Enjoy!